Zentara
Workflow Development / Look Development /
Real-time Motion Capture / Rigging
First Contact was a holographic experience created by Light Field Lab as a technical demonstration of the company's novel holographic display technology, which enables digital objects to form in mid-air without headgear, merging real and virtual worlds together. In the experience, the audience will interact with the alien from thousands light years away----Zentara.
I was responsible for transferring a custom character into a MetaHuman while fully leveraging the MetaHuman rig, blendshapes, corrective bones, and more. Problem-solving across different scenarios and look development on specific objects were also part of my role in this project.
MetaPipe 2.0 was the primary tool for applying the MetaHuman rig to the alien mesh. While the plugin automated most of the process, challenges arose with differences in finger count, topology adjustments, and deformation accuracy. You can see the showcase videos on the left, demonstrating how the MetaHuman rig performs smoothly on the alien.

Custom
MetaHuman
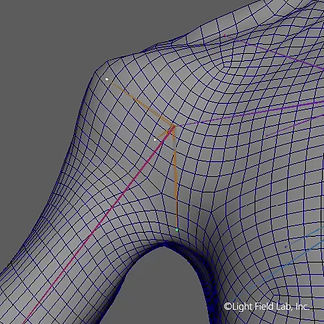
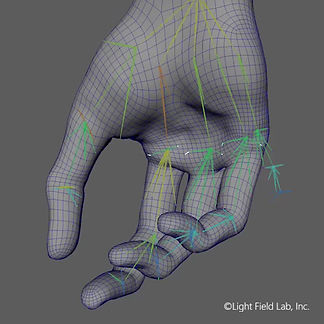
To ensure full functionality in Unreal Engine 5, I modified the Animation Blueprint, similar to driven keys in Maya, to properly utilize corrective bones for the alien’s extra-long limbs and fingers. This adjustment allowed for natural deformation and accurate movement within the rig.
In the case on the right, I smoothed the bump on top of the wrist.


Adapting an Alien Character to MetaHuman: Rigging and Look Development Pipeline
Images below showcase the progress of the mesh topology and look development pipeline. I handled the adaptation of Zentara to MetaHuman topology, including retopology, skeleton generation, and mesh refinement. For the final look development stage in UE, a dedicated lookdev artist took over to refine the shading and material setup. Additionally, I transfer/bake/recreated the textures to ensure compatibility with our holographic real-time renderer.
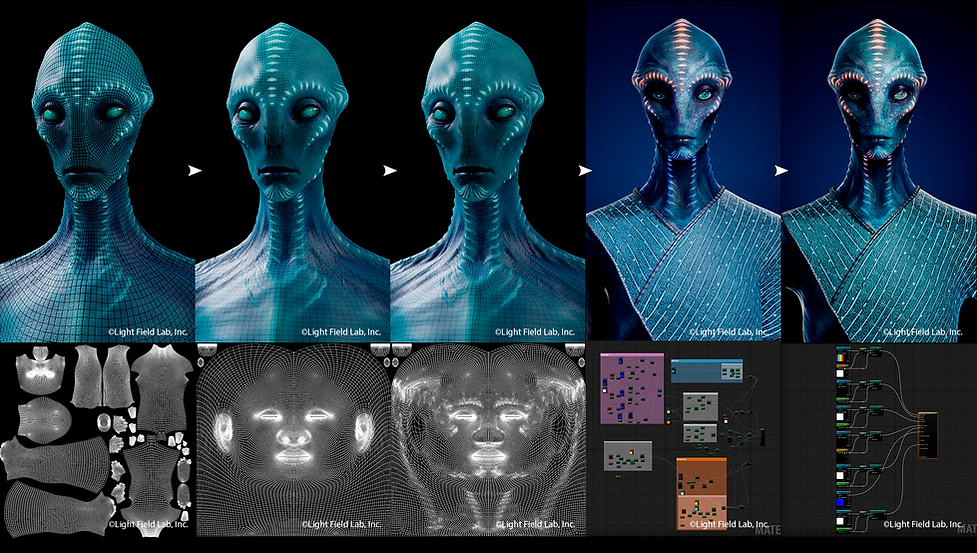
Original Alien Mesh
-
The original alien model with its UVs and texture form Sculpturing Artist.
Topology Transfer & Skeleton Setup
-
Used "Wrap" from Faceform to transfer the alien shape onto MetaHuman topology while baking the texture from the original mesh.
-
Generated a MetaHuman skeleton using Metapipe, ensuring it matches the alien’s body proportions.
Retopology & Refinements
-
Added detailed bump information to enhance the alien’s features.
-
Removed the pinky finger, as the alien has only four fingers.
-
Transferred weights and bound the refined mesh to the MetaHuman rig.
Look Development in Unreal Engine
-
The shading and material setup in UE by the lookdev artist.
Final Input Textures
-
To optimize the performance in UE and creating a standard of character look dev, I baked and simplified the shader tree from look dev artist
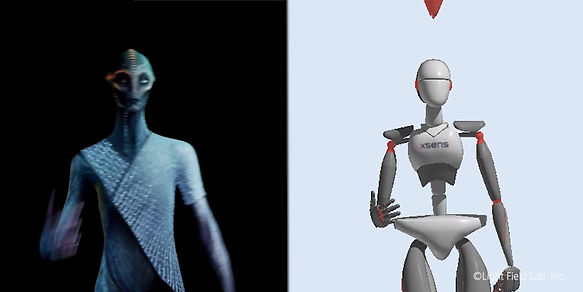

Motion Capture
For body motion capture, we used Xsens and StretchSense, both of which integrate well with Unreal Engine (UE) and MetaHuman. My role involved testing the systems to ensure the character's movements behaved correctly and troubleshooting any issues, such as candy-wrapped on wrist and elbows.
For facial motion capture, we used LiveLink Face. Metapipe also provided support for blendshape adjustments, allowing the character to fully close its eyes.
The video below showcases facial animation with metahuman face rig and how subsurface works with mesh movement in Blender.
Alien Forming
The effect is designed to create an impressive reveal of Zentara, a being from thousands of light-years away.
My role focused on developing the look and materials for the cubes provided by the VFX artist, as well as troubleshooting technical issues.
Once finalized, I handed the assets over to the lookdev and lighting artist for final adjustments.

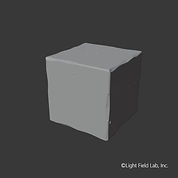
high poly
Due to the large number and repetitive nature of the cubes, I created four variations with detailed beveled edges and surface imperfections using Blender's Geometry Nodes. I then baked these details into four normal maps and an IOR map to enhance visual complexity while maintaining performance efficiency.
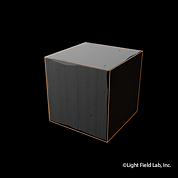
low poly
Based on the AI-generated images provided by Ryan, the creative director, I experimented with subsurface scattering, IOR, self-emission, transmission, and lighting to closely replicate the visual effects seen in the references.
images are created by Ryan McDougal
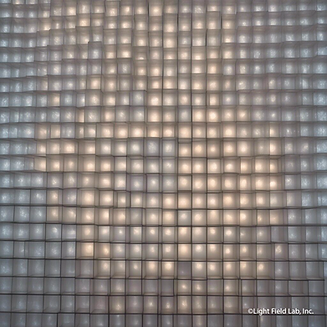
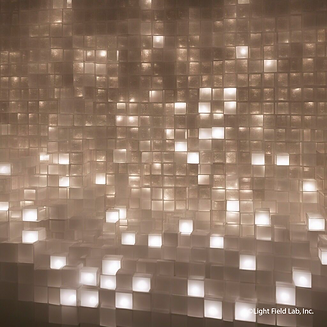


Once the look development of the individual cubes was approved, I handed the file over to the lighting and lookdev artist for final adjustments, so we can see how the cube's shader behaves with the animation and lighting.